Blue Coat - Handling the category ‘none’
Note - This blog has been superseded by the Threat Risk blog here
The Blue Coat WebFilter is a database of web pages in 50 different languages that have been classified into 85 different categories which allow for dynamic control of corporate security policies and granular control over select popular web applications and operations.
The Blue Coat Global Intelligence network powered by WebPulse attempts to categorise the majority of the web. The issue is that due to the rapid expansion of the web and the ever changing content on many pages it is impossible to categories the whole web. Blue Coat state that a typical English-Speaking customer using Blue Coat WebFilter has about 90-95% of their traffic rated via the database on their proxies. The question here is what about the other 5% of traffic that is unrated by Blue Coat WebFilter?
There are three clear options; firstly an organisation can just block access to the category ‘none’, but what if the user has a genuine reason to access the site which has not been categorised yet. The second option is to allow the traffic, but what threat could that pose to the organisation. What if the user clicked a link by accident which leads them to a drive by download site containing malware? The third option is to provide a metaphoric speed bump which slows the user down, notifies them that this site is uncategorised and potentially dangerous, and asks them if they are sure they want to proceed. Option three is the option that we will demonstrate in action in this blog.
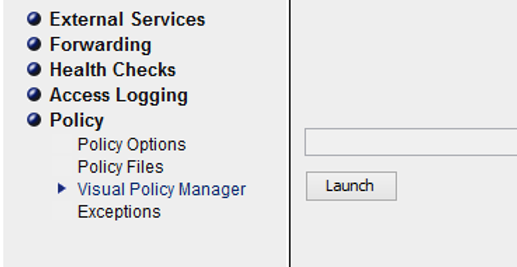
In the Blue Coat ProxySG GUI Navigate to the Visual Policy Manager by going to Configuration > Policy > Visual Policy Manager and click Launch.
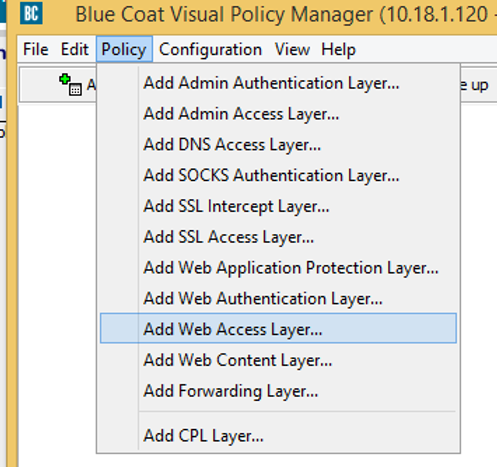
In the Visual Policy Manager window, Select ‘Policy’ from the toolbar and click ‘Add Web Access Layer…’
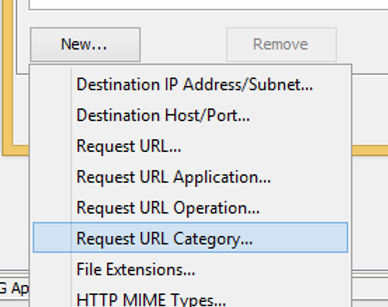
In the Newly created Web Access Layer, Right Click ‘Any’ under the Destination field and click set. The Set Destination Object window appears. In this window click ‘New’ and select ‘Request URL Category’
In the ‘Add Request URL Category Object’ window, enter a name for the object, expand the ‘System’ tree and check ‘none’, then click ok and click ok again to be returned to the Visual Policy manager Window.

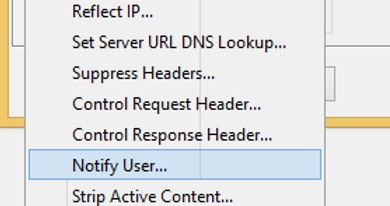
Under the Action Column in the Web Access Layer, right click Deny and select set from the menu. The Set Action Object Window is presented. Click New and select ‘Notify User’
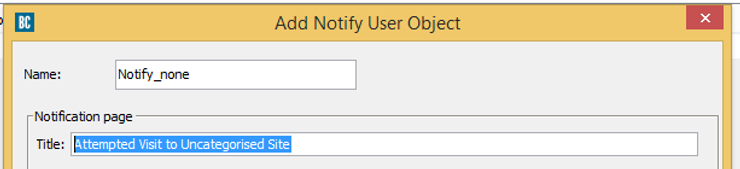
The ‘Add Notify User Object’ window is presented. There are a few configurable options here that can be explored. Firstly give the object a name such as ‘Notify_none’. Next give the page that will be presented to the user a title, this will be displayed in the end users browser. In this example the title ‘Attempted Visit to Uncategorised Site’ has been used.
The next box allows for the HTML presented to the end user to be edited. This is the opportunity to add in any corporate branding to the page that will be presented back to the end user. The Accept button must be left in place. The accept button is represented with the the following code
<a href="$(exception.details)" onclick="Accept();">Accept</a>
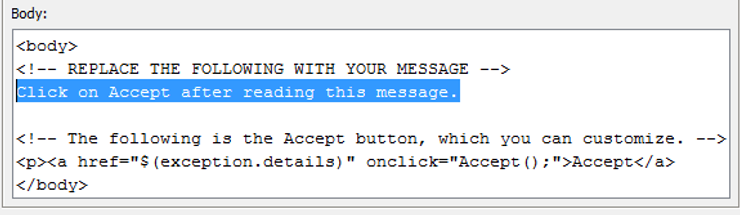
In this example, the text ‘Click on Accept after reading this message’ will be changed to ‘Access to a URL that has not yet been categorised has been detected, if this is a genuine request, please click Accept to proceed – This request has been logged'
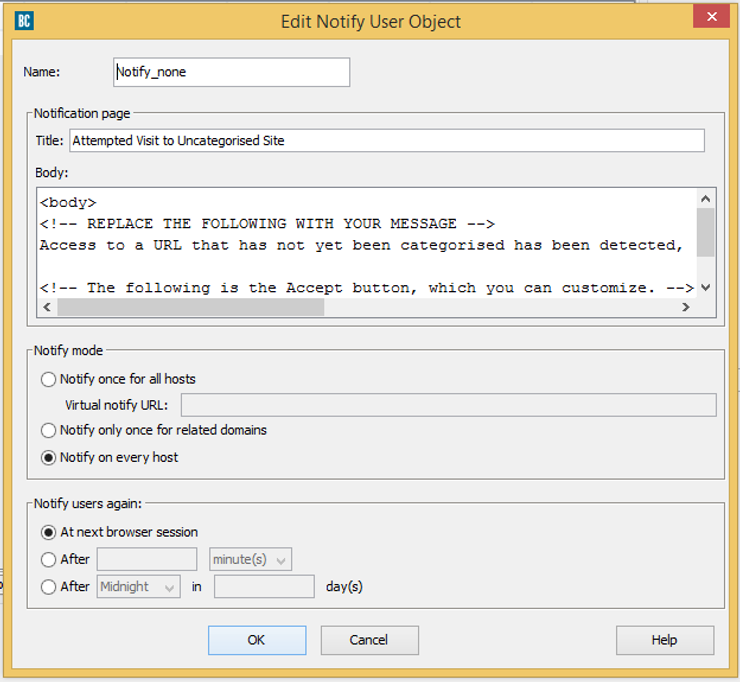
Next up is the Notify Mode. There are three options available here each of which achieving different outcomes. The official explanations for each of these options are shown below:
Notify once for all hosts — The notification page is displayed only once; this is used for configuring compliance pages. This option uses a Virtual Notify URL. If you must change the URL from the default value, please read the limitation section following this procedure.Notify only once for related domains — The notify page reappears each time the user visits a new Web site; this is used for configuring coaching pages. Notify on every host — The notify page reappears each time the user visits a new Web host. Blue Coat recommends that only highly experienced administrators employ this option. In addition to breaking banner ads, as described above in the previous option, this option, on some Internet Web sites, might cause JavaScript errors that impair the functionality of the site.
In order to catch each uncategorised URI we will select Notify on Every Host.
Under the ‘Notify users again’, this one is open for interpretation and will be different from organisation to organisation. Typically, ‘At next browser session’ would be selected, but if an organisation wants a notification page to only show once a day per uncategorised URL, they would set ‘After Midnight in 1 day’.
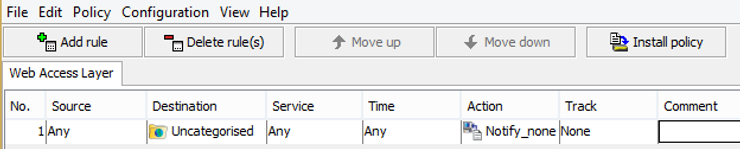
Once completed, click OK and click OK again to return to the Visual Policy Manager. A completed Rule should now be in place.
Next, Install Policy and navigate to http://sitereview.symantec.com/#/category-test and select the link “Uncategorised”, the following page is displayed:
The result is a notification page served each time a user visits an uncategorised URL.
.png)
.png)
Get safer now
See how Managed Threat Detection can make a difference for you. No obligation free trial.
Subscribe to our weekly newsletter!
©2025 Cyber Vigilance
Powered by Disruptive
Naggs Stable, Old Portsmouth Road, Guildford, Surrey, England, GU3 1LP